Last updated November 21, 2026
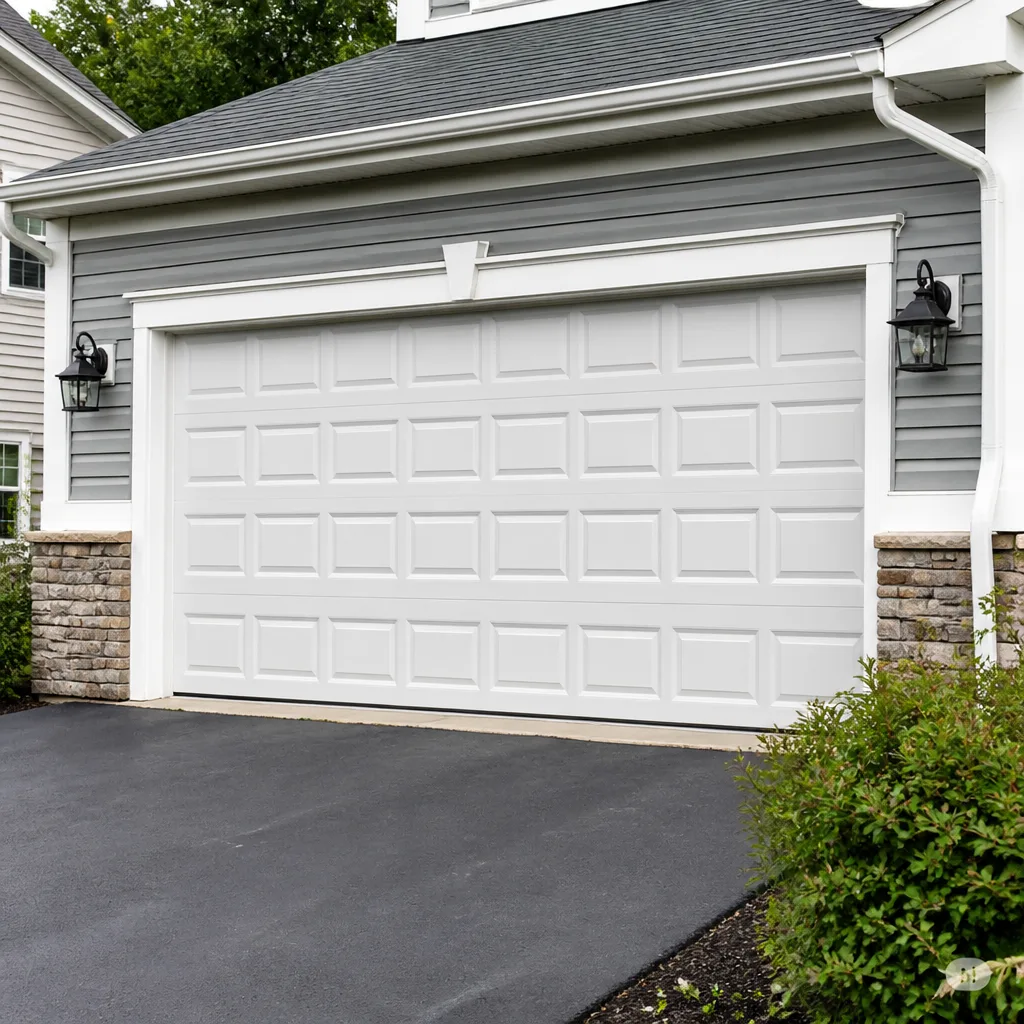 Raised-panel steel
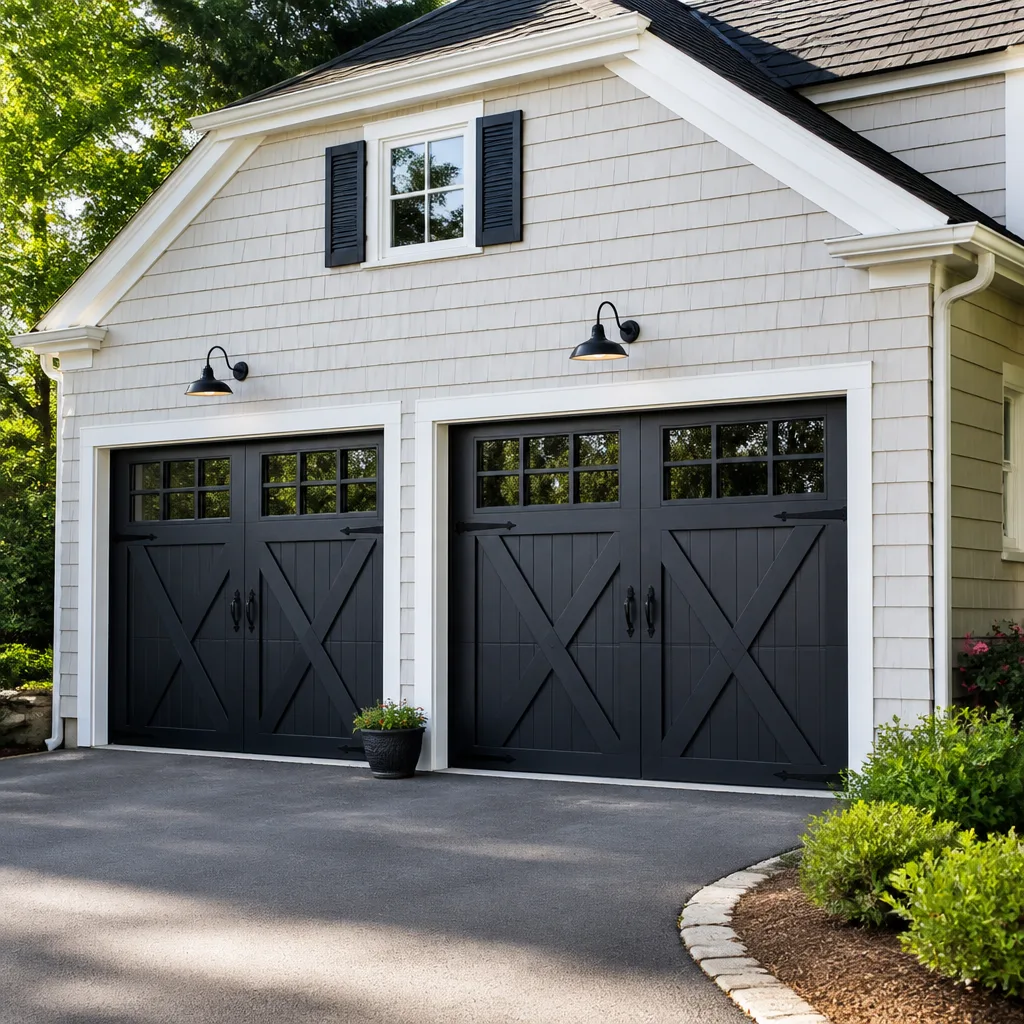 Carriage house
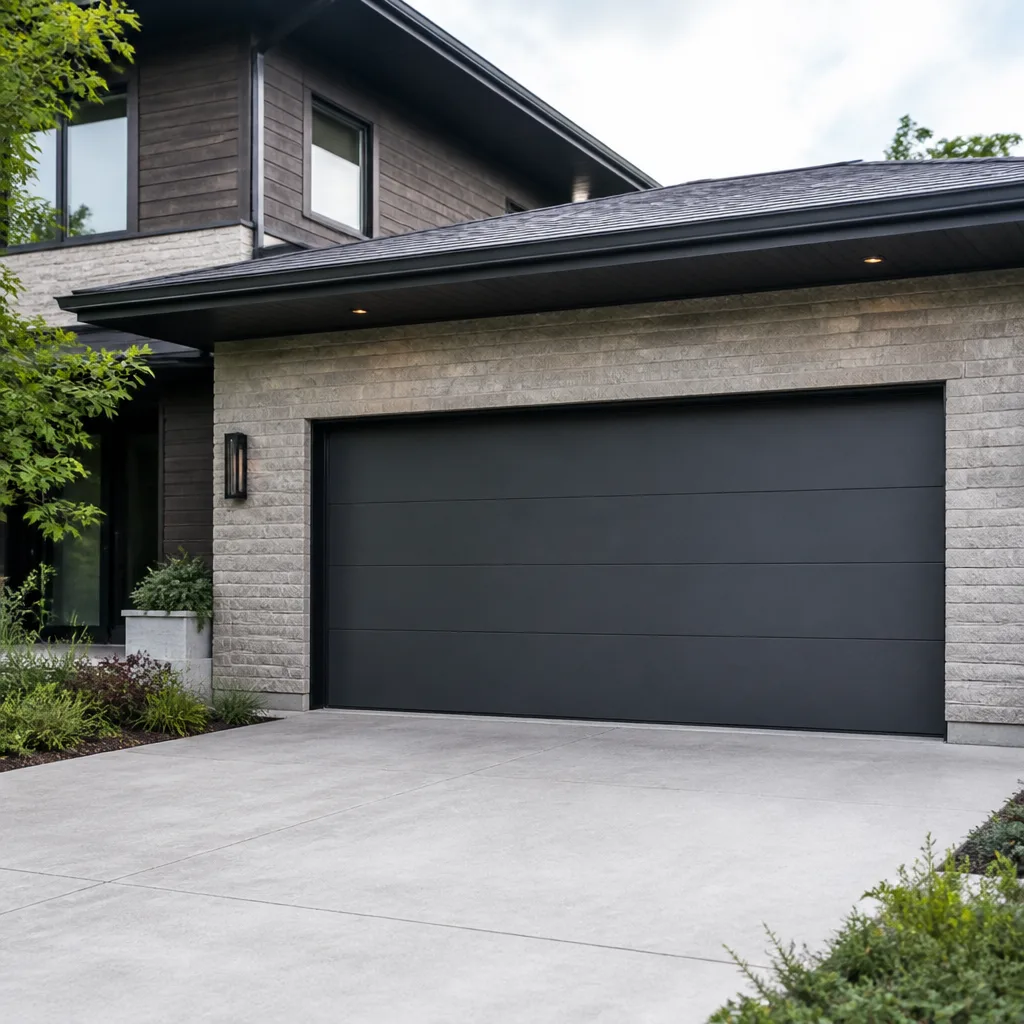 Modern flush
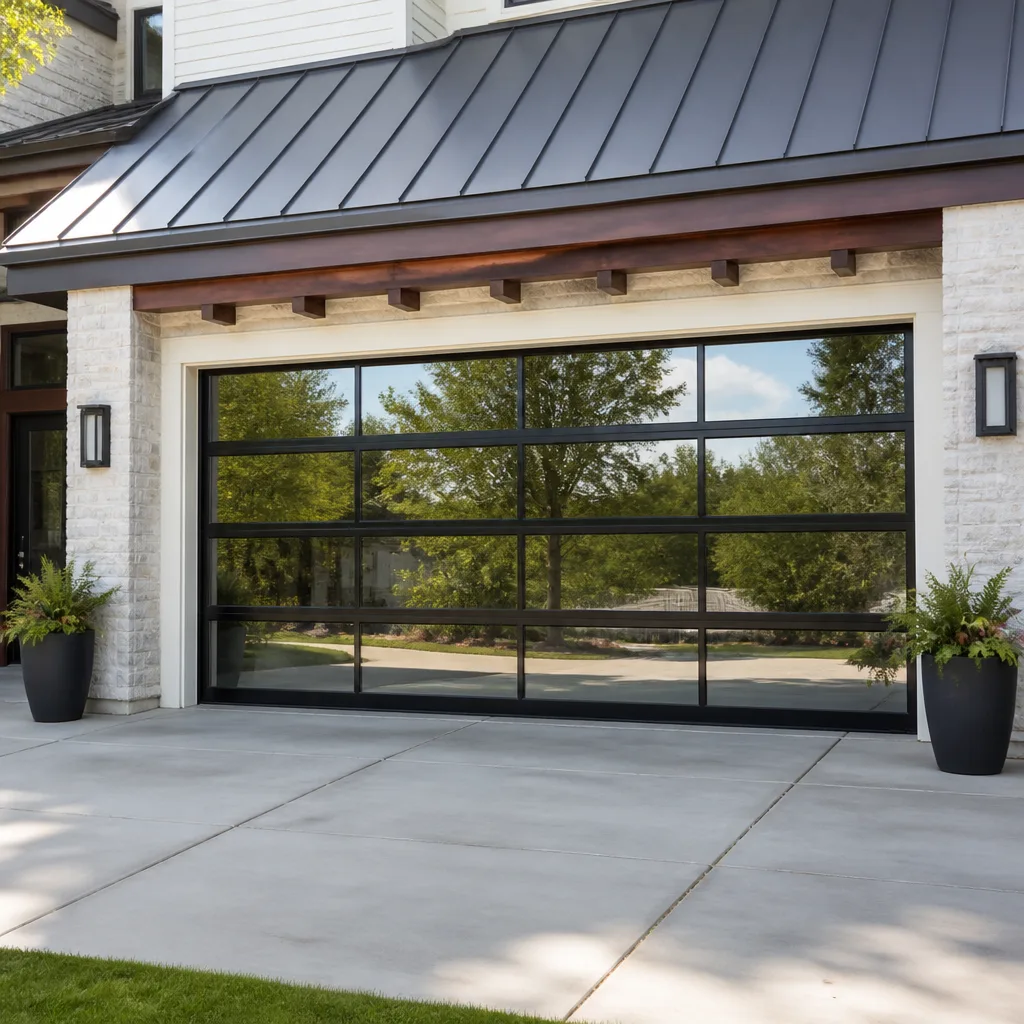 Full-view glass
 LiftMaster openers
 Chamberlain openers
Full 25-point door and opener safety check with every visit - springs, cables, rollers, tracks, and your LiftMaster or Chamberlain opener included
You get a price before we start. It does not change when the pro arrives.
Get your free estimateGarage Door Repair Maintenance Checklist for Clearwater Homeowners
WD-40 is the most common thing Clearwater homeowners spray on their garage door hardware. It’s also one of the fastest ways to accelerate roller failure. WD-40 is a solvent and water displacer, not a lubricant, and it strips away the grease already protecting your rollers and hinges while leaving a tacky film that grabs grit out of the air. In a humid climate like ours, that grit turns into an abrasive paste that wears plastic rollers from the inside out. This guide walks through a part-by-part inspection sequence built for Clearwater conditions, tells you exactly which lubricant belongs on which component, shows you how to run a balance and force test without tools, and explains what to write down after each check so your door’s history is legible to any technician who works on it later.
Quick Answer
A garage door maintenance checklist for Clearwater should cover nine points: springs, cables, rollers, hinges, tracks, weather seal, balance, force resistance, and fasteners. Check them every six months, lubricate metal-on-metal contact points with a silicone-based spray (never WD-40), and record what you find. Anything involving springs or cables should be inspected visually only, by a trained professional.
Styles & brands we work with
- Raised-panel steel
- Carriage house
- Modern flush
- Full-view glass
- LiftMaster openers
- Chamberlain openers
Table of Contents
- Why Clearwater Doors Age Differently
- The Part-by-Part Inspection Sequence
- The Right Lubricant for Each Component
- How to Run a Balance and Force Test Safely
- Which Fasteners and Brackets Rust First in Clearwater
- What to Log After Every Inspection
- Your Two-Times-a-Year Schedule
- What a Technician Checks That Homeowners Skip
Why Clearwater Doors Age Differently
Clearwater’s climate puts a specific kind of wear on garage door hardware. Winters are mild, so we don’t get the freeze-and-thaw stress that cracks door seals in colder parts of the country. What we get instead is year-round humidity, warm temperatures, and enough salt in the air near the coast to keep fasteners working. That combination changes what fails first and what fails quietly.
Humidity is the biggest factor homeowners underestimate. Metal parts that would stay dry and stable in a drier climate spend their lives cycling between damp morning air and a hot afternoon. That cycle is what drives surface oxidation on brackets and bolts, and it’s why a door that’s only a few years old in Clearwater can show rust blooming at the hinge plates before anything else looks wrong. Warm temperatures also soften the grease on rollers and hinges faster, thinning it until it stops protecting the moving surface.
Plastic and nylon rollers behave differently here too. Heat makes them more pliable, and grit carried by humid air sticks to any lubricant film left on them. Over months, that grit works into the roller bearing and grinds the raceway. A door that sounds fine can be quietly wearing through its rollers in the background.
The other Clearwater-specific factor is use. For many homeowners here, the garage is the primary entry point to the house, not a storage shed. That means the door cycles far more often than the national average: two, four, sometimes six times a day. Every cycle puts a small load on springs, cables, and hinges, so a door in Clearwater can be doing the same amount of travel in three years that another door takes ten to accumulate. That’s why the six-month inspection cadence matters more here than the annual check many generic guides suggest.
The Part-by-Part Inspection Sequence
Walk through the door in this order every time. It builds from the safest checks (things you can look at without touching) to the ones that require movement, so you never reach into a live mechanism.
- Visual sweep first. Stand back and look at the door with the opener disengaged (pull the release handle so the door is disconnected from the motor). Check that the door hangs level to the ground, that the panels are aligned, and that no rollers are sitting outside their tracks.
- Springs. Look at the torsion springs above the door or the extension springs beside the tracks. A gap in a torsion spring, or an extension spring that has lost its stretch, is your failure signal. Do not touch, adjust, or wind springs. They carry the full weight of the door and can release stored energy without warning.
- Cables. Inspect the cables that run alongside the springs for fraying, kinks, or slack. A cable with a broken strand is a call-a-professional signal.
- Rollers. With the door down, look at each roller in its hinge. Plastic rollers should be smooth and round. Flat spots, cracks, or a black powdery residue around the bearing indicate wear.
- Hinges. Look for bent hinge plates, loose bolts, or rust at the hinge-to-panel contact.
- Tracks. Run a hand along the inside edge of both vertical and horizontal tracks (door down, opener disengaged). Dents, debris, or misalignment will show up as a catch under your fingers.
- Weather seal. Check the bottom rubber seal for tears, hardness, or gaps at the floor. Lift the seal by hand and look for daylight.
- Balance and force. Run the manual tests in the section below.
- Fasteners. Check every bracket bolt and hinge screw for looseness, rust, or missing hardware.
If anything on this list fails the visual check, stop there. The remaining steps don’t make sense until the fault is addressed. For a fault in the opener itself, our garage door opener repair team can diagnose the electronics.
The Right Lubricant for Each Component
Lubrication is where most homeowner checklists fall apart because they treat every moving part the same. Different components need different lubricants, and using the wrong one on the wrong surface can make wear worse instead of better.
- Rollers (metal bearings): A silicone-based spray is the right choice. It penetrates the bearing surface without attracting grit the way petroleum grease does. On plastic or nylon rollers, use silicone only, and sparingly – these rollers are often described as “lubricant-free,” and the silicone is really there to flush grit, not to grease the plastic. WD-40 is wrong here because it strips the existing film and leaves a dust-magnet residue.
- Hinges: Silicone spray or a light lithium grease. Silicone is easier to apply and less messy, and in a humid climate it’s the better default. A small squirt per hinge pin, applied twice a year, is all you need.
- Torsion spring coils: Some technicians apply a thin coat of silicone to reduce friction noise. Skip this unless a professional recommends it for your specific spring. Never spray anything on a spring you’re not sure about.
- Track surfaces: Nothing. Tracks should stay dry. Grease on a track is a magnet for grit and makes the rollers slide instead of roll. Wipe the track with a dry cloth instead.
- Bottom weather seal: A silicone spray every six months keeps the rubber from drying and cracking in the heat.
- Metal brackets and bolts: A light silicone spray or dry-film lubricant after cleaning. Not grease, which will hold salt and moisture against the metal.
Why does silicone matter more in Clearwater specifically? Two reasons. First, silicone doesn’t emulsify with moisture the way some greases do, so it holds up under our humidity. Second, it doesn’t attract dust the way petroleum-based grease does, and dust is the main thing that wears plastic rollers here. A single can of silicone spray is the only lubricant most Clearwater homeowners need.
How to Run a Balance and Force Test Safely
The balance test and force test sound technical but require no tools. Both are done with the door disconnected from the opener, and both tell you whether the springs are doing their job.
Balance test
- Pull the opener release handle so the door is disconnected. Open the door by hand to about chest height.
- Let go. A balanced door should stay put at chest height, or drift very slowly.
- Raise the door to waist height and let go again. Same expectation: it stays.
- If the door falls quickly, the spring tension is too low. If it rises on its own, the tension is too high. Both are spring problems, and springs are not a homeowner repair.
Force test
- Reconnect the door to the opener.
- Lay a roll of paper towels or a piece of wood flat on the floor in the door’s path (a 2×4 laid on its side works).
- Close the door with the opener. The door should reverse on contact with the object.
- If the door does not reverse, the openers’ force setting is too high or the safety sensors have an issue. Check the sensor alignment first, then look at the opener.
Do both tests twice: once with the door fully open and once with it about halfway down. The results can differ if one spring is weaker than the other. Any door that fails either test needs a technician to look at it before you keep using it. A door that won’t reverse is a genuine safety concern, particularly if children or pets are in the garage.
Which Fasteners and Brackets Rust First in Clearwater
Not all hardware rusts at the same rate. The parts that hold the door to the wall and the parts that move against each other go first. If you check these six spots every six months, you’ll catch corrosion before it becomes a structural problem.
- Hinge plates: The contact point with the panel is where moisture pools after a warm afternoon. Surface rust shows up as an orange film here before anywhere else.
- Bottom bracket bolts: These carry load and sit low, where damp air and floor splash hit them. Look for rust streaks running down from the bolt.
- Track hangers and J-bolts: The mounting hardware in the ceiling rusts quietly because it’s out of sight. Shine a light up at it.
- Spring anchor plate bolts: These anchor the torsion system. Rust that’s starting at the plate is worth flagging to a technician even if the plate itself looks sound.
- Roller stems: The shaft each roller attaches to corrodes and slowly seizes the roller. A roller that won’t spin freely is often a rusty stem, not a worn wheel.
- Weather seal staples: Small, cheap, and easy to skip, but a rusty staple lets the seal drop and starts water getting behind the door.
Surface oxidation and active rust are not the same thing. A light, even orange film that wipes away with a cloth is surface oxidation, and it’s normal in Clearwater humidity. Active rust lifts the metal, has visible flaking or pitting, and won’t wipe off. If you see it, the fastener needs to be replaced, not painted over. Painting a rusting bolt traps moisture and makes the corrosion faster. Any bolt that won’t turn with a wrench is worth a technician’s eye before you force it.
This is one area where a strong local reputation matters more than a brand name. Many doors we see in Clearwater have been repainted over hardware that rusted from the inside, and it takes a trained eye to tell the difference between cosmetic and structural. Our technicians have up to 12 years of experience reading that difference.
What to Log After Every Inspection
A log turns a series of disconnected checks into a story about your door. The next technician who works on it can then see what’s been failing, how fast, and in what order. A one-page spreadsheet or a notebook kept in the garage is enough. Log the following after every inspection:
- Date and door cycle estimate. Write the date, and count your door’s cycles per day multiplied by the days since the last check. This is the single most useful entry. A door that’s done 600 cycles in six months is a very different door from one that’s done 200.
- Parts inspected and findings. One line per component. “Rollers: 3 of 6 have flat spots” is the right level of detail.
- Balance test result. “Door drifted down slowly on chest-height test” tells a technician what to look at first.
- Force test result. Did the door reverse cleanly? Yes or no.
- Lubrication applied and where. Note the silicone spray date and which parts got it.
- Corrosion notes. Which fasteners are showing rust, and whether it’s surface or active.
- Noise observations. Does the door squeak, grind, or pop? In what part of the travel does it happen? Note it in plain words.
- Any work performed or deferred. A technician will want to know what was done and what was decided against, with a note of why.
This log is what separates a door that gets diagnosed in one visit from one that takes three. A technician who can see the trend in your numbers knows whether a spring is on its last leg or the rollers are just noisy. If you ever need a larger job, our garage door repair team can work from that log directly, which often turns a follow-up into a single visit.
Your Two-Times-a-Year Schedule
Clearwater’s mild winters mean you can do the full checklist any time, but twice a year is the right cadence: once in spring before the heavy humidity, and once in fall after the summer. Each cycle takes about 20 minutes if nothing is wrong.
Spring check (before the heavy humidity): Full visual sweep, part-by-part sequence, balance and force tests, lubrication of all metal contact points, fastener and corrosion inspection. Focus on catching anything that summer humidity will accelerate. Log everything.
Fall check (after the summer): Visual sweep, spring and cable inspection, roller check, weather seal, and a fast recheck of the fasteners you flagged in spring. Fall is also the right time to look at the door’s paint and clean out any grit that’s accumulated in the tracks. Log the results and update the cycle count.
If your door is cycling more than five times a day, add a midpoint check between spring and fall. It’s not the full sequence; just springs, rollers, balance test, and a quick look at the tracks. Homeowners who use the garage as their main entry point should treat the quarter-year cadence as standard.
What a Technician Checks That Homeowners Skip
Even a careful homeowner misses a few things that matter, and they’re usually the ones that fail without warning. Here’s what a trained eye goes to first.
- Spring wire integrity under load. A technician can tell from the wire that a spring is about to fail, well before it does. The home inspection can only see the spring at rest. The wind between coils, the finish, and the way the spring sits under tension are all signals.
- Cable tension balance between the two sides. A door can pass the balance test and still have one cable doing more work than the other. That asymmetry is what causes cables to snap.
- Hinge and bracket torque. Loose fasteners are the most underreported door problem we see. A torque check catches them before they distort the panel.
- Opener drive and force calibration. Modern openers like LiftMaster, Chamberlain, and Genie models have force calibration that drifts over time. A technician can reset it accurately, which is one of the things homeowner adjustments can’t match.
- Safety sensor beam alignment. Sensors get knocked out of alignment and can fail intermittently. A technician will test them at multiple angles.
- Roller and panel alignment to the track. A slight misalignment that a homeowner reads as “the door is just noisy” can wear through a roller in months.
If your door is a Clopay or similar brand with a specific roller or hinge system, our team comes out already familiar with the hardware. We work on your brand, not just anyone’s. When the diagnosis turns into a full replacement, our garage door installation service keeps the whole job in one place, so you don’t need a second company. That’s the point of the checklist: catch what you can, and know when to bring in someone who knows your door’s make.
Common Mistakes to Avoid
- Lubricating with WD-40. It strips the existing lubricant from rollers and hinges, then leaves a sticky film that collects grit. In Clearwater’s humid air it accelerates wear instead of slowing it. Use silicone spray instead.
- Spraying grease on the tracks. Grease on a track turns into an abrasive paste as it gathers dust and grit. Tracks should stay dry and clean. Wipe them, don’t grease them.
- Adjusting springs yourself. Torsion springs carry the full weight of the door and can release that energy instantly. This is a call-a-specialist repair, always. Never put a hand or wrench on a wound spring.
- Ignoring a door that doesn’t reverse. The force test is the one safety check on this list. If the door doesn’t reverse on contact, stop using it until a technician has looked at it.
- Using a pressure washer on the door and hardware. In Florida heat, pressure-washing panels drives water into hinges and hinges rust. Wipe or gently hose instead.
- Painting over rusting fasteners. It looks better for a season, then traps moisture and speeds the corrosion. Rusty bolts should be replaced, not painted.
- Skipping the log. A door with no history is diagnosed by guesses. A door with a six-month log is diagnosed in one visit. Write the numbers down.
- Assuming a noisy door is a small thing. Squeaks and pops that start in one part of the travel are usually a worn roller or a loose hinge, and both are cheap to fix. Waiting turns them into panel damage.
See the difference
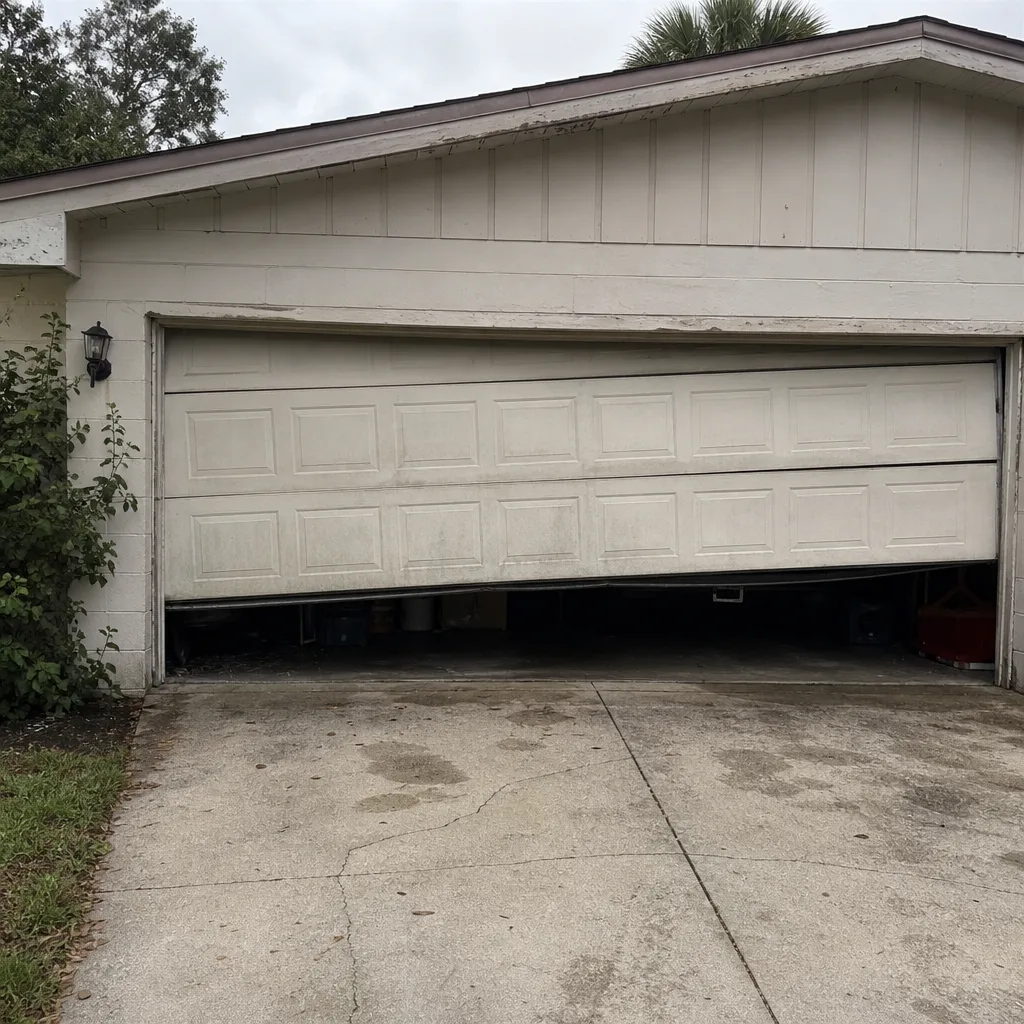 Before
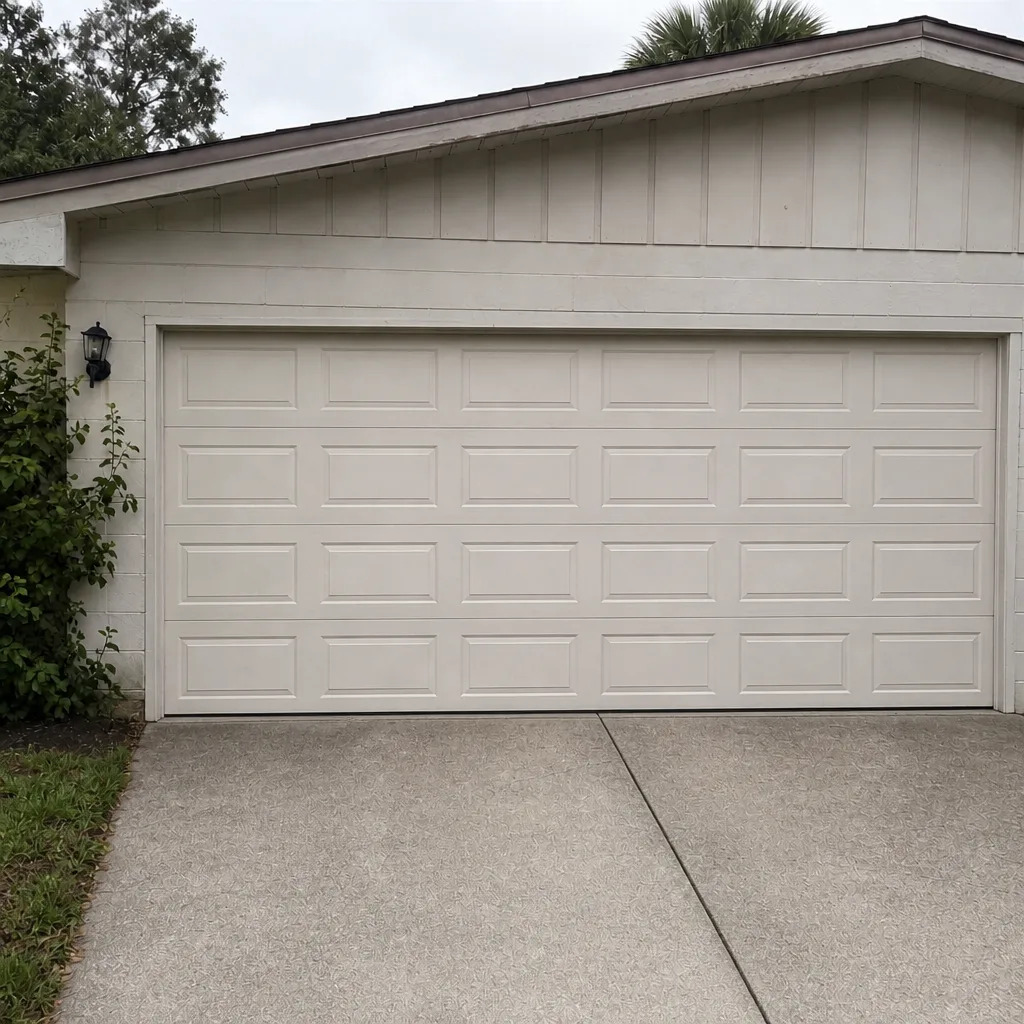 After
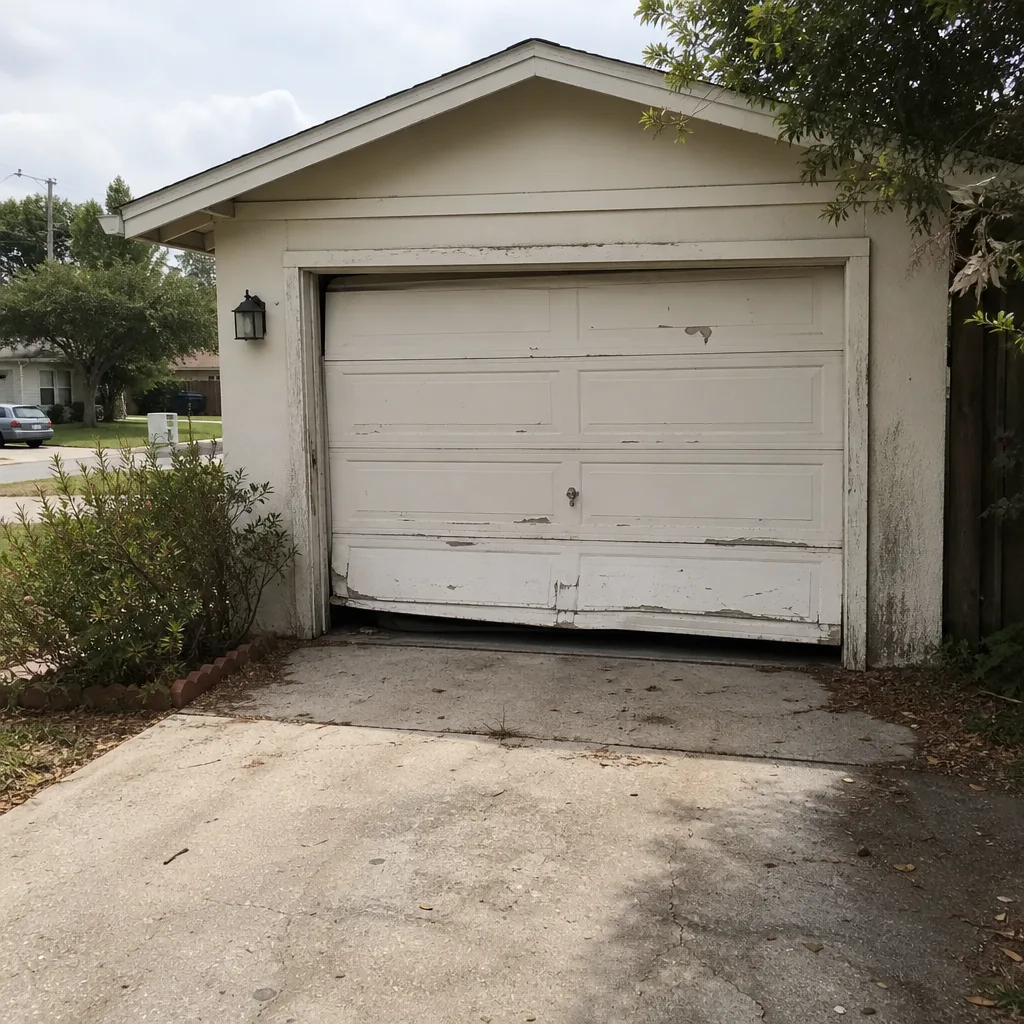 Before
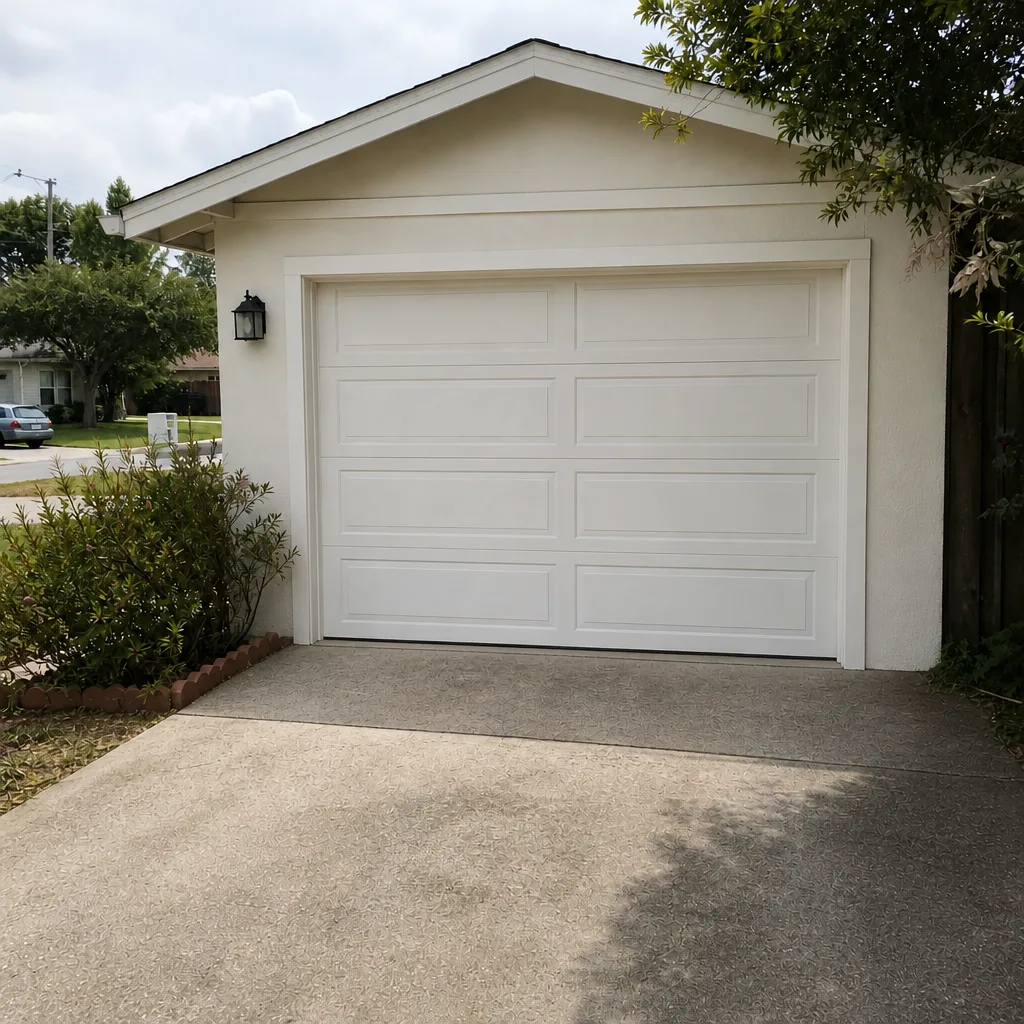 After
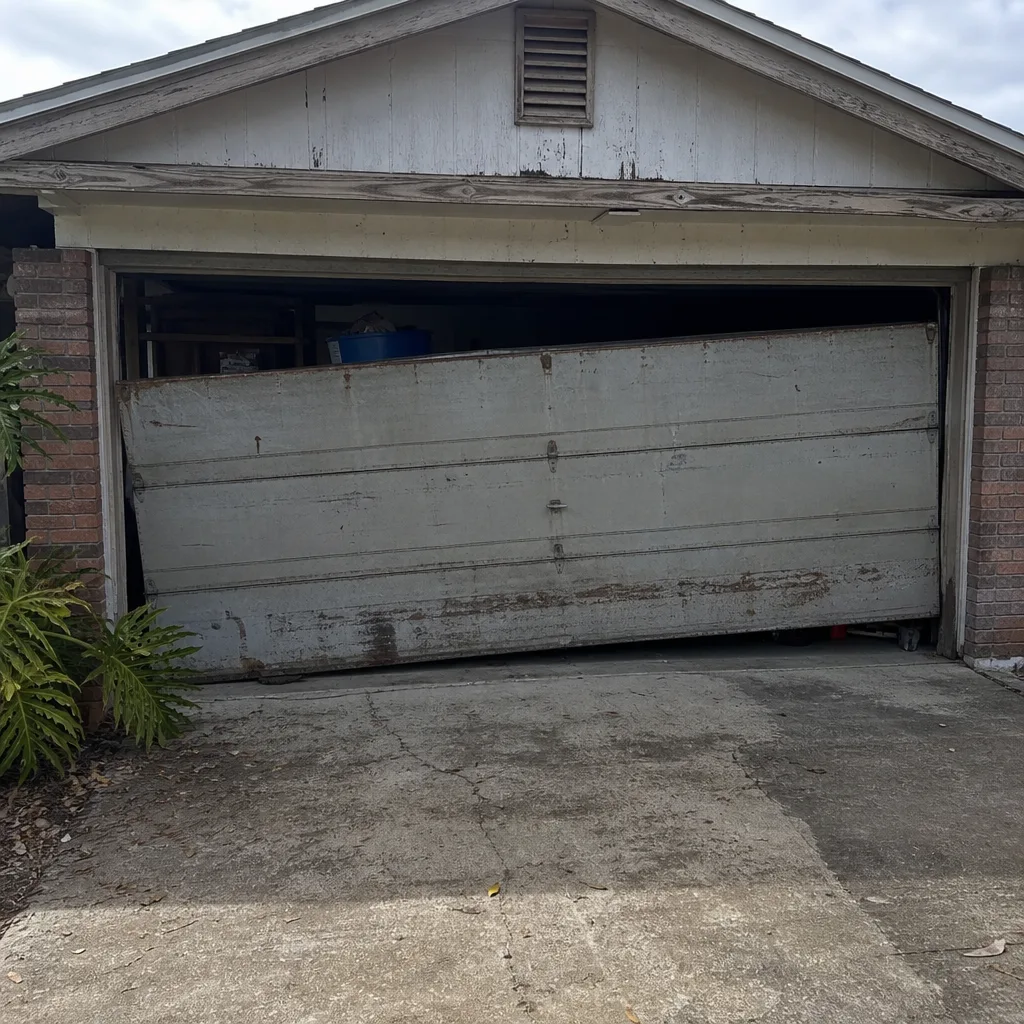 Before
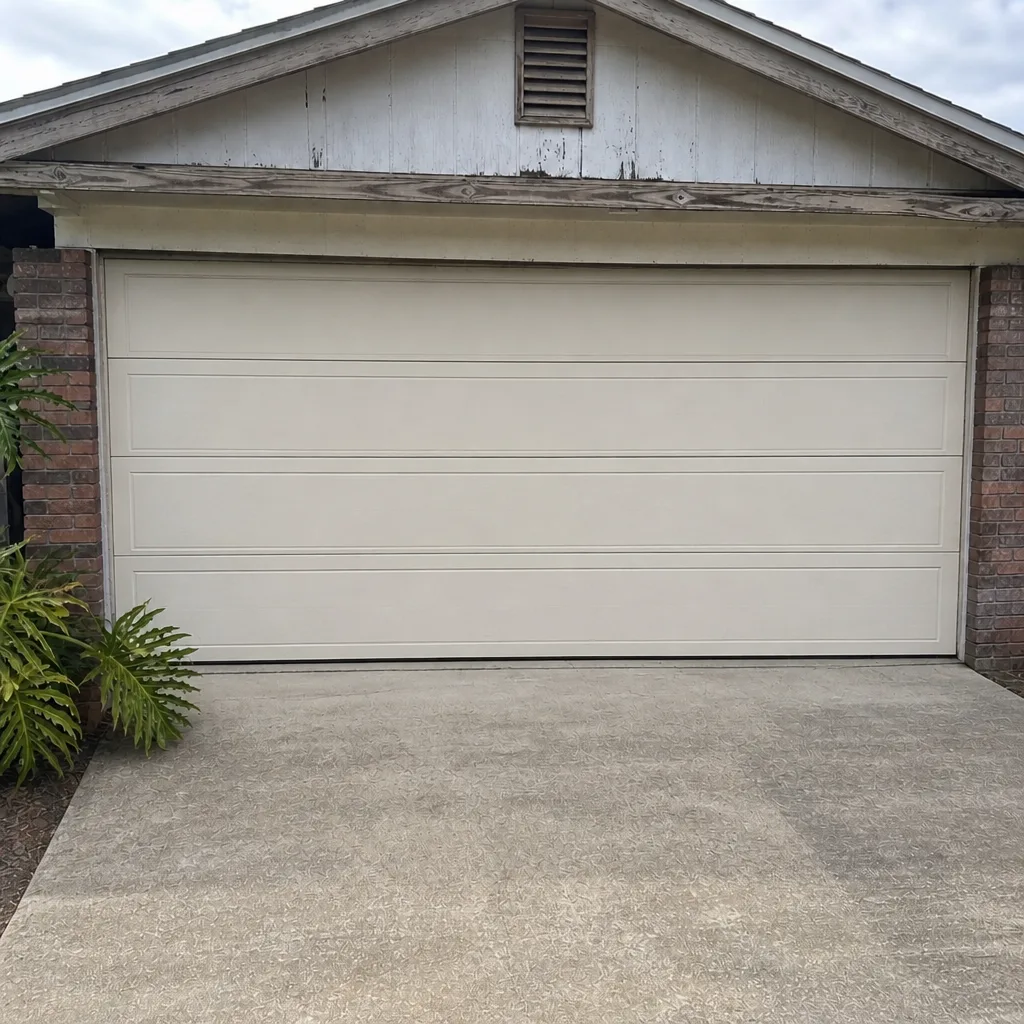 After
When to Call a Professional
Bring in a technician if any of these is true:
- The door fails the balance test (falls or rises on its own).
- The door fails the force test (doesn’t reverse on contact).
- You see a gap in a torsion spring or a broken extension spring.
- Any cable shows fraying, kinks, or slack.
- Any fastener shows active rust with flaking or pitting.
- The door makes a loud pop or bang and then won’t open evenly.
- You can’t identify the part that’s noisy or binding.
Springs and cables are the two components we don’t want a homeowner touching. They’re the highest-tension parts of the system and the most common source of serious injury when handled without training. When the door is stuck and you can’t get out, our Clearwater Garage Door Repair Co team offers emergency service to get you moving again. If you’re in Clearwater Garage Door Repair Co and need a second opinion on the checklist findings, our technicians can review the log with you and tell you what actually needs doing. Clearwater Garage Door Repair Co offers free estimates in Clearwater – call (833) 468-3520.
Frequently Asked Questions
Every six months is the right cadence, once in spring before the heavy humidity and once in fall after the summer. If your door cycles more than five times a day, add a midpoint check of springs, rollers, and balance test. The cycle count matters more than the calendar, so watch the numbers.
No. WD-40 strips the existing lubricant from the roller bearings and leaves a sticky film that attracts dust and grit. In Clearwater’s humid climate, that grit becomes an abrasive paste that wears plastic rollers faster. Use a silicone-based spray instead, and don’t apply it heavily.
Surface rust is a light, even orange film that wipes off with a cloth. Active rust lifts the metal, shows visible flaking or pitting, and won’t wipe clean. In Clearwater humidity, surface rust is normal. Active rust means the fastener needs replacing, not painting; painting traps moisture and speeds corrosion.
A gap in a torsion spring, or an extension spring that has lost its ability to stretch, is the clearest visual signal. A door that fails the balance test (falls or rises on its own) is also telling you the spring needs attention. Don’t try to check spring tension by touching the spring; call a technician, because springs carry the full weight of the door.
Yes. A log helps the next technician see the door’s history, not just its current state. The cycle count, which parts are showing flat spots, and whether the door passed the balance test all change what a professional looks at first, and they often reduce a follow-up to a single visit.
Never. If the door doesn’t reverse on contact with an object in its path, that’s a safety issue, especially with children or pets in the garage. Stop using the opener until a technician resets the force calibration. It’s usually a quick fix, and it’s not worth a hand or a foot.
The Bottom Line
A garage door maintenance checklist for Clearwater isn’t about doing more work – it’s about doing the right steps in the right order at the right time of year. Use silicone spray, not WD-40. Keep the tracks dry. Do the balance test and force test twice a year. Log your numbers so any technician who works on your door starts from a place of knowing, not guessing. Inspect the six fastener points most likely to rust here. And treat springs and cables as hands-off – a trained professional’s job, not a homeowner’s. If the checklist turns up something that needs more than you want to handle, our team at Clearwater Garage Door Repair Co works on all the major brands and can diagnose and fix it in one visit. If you’d rather have a professional walk the checklist with you, give us a call at (833) 468-3520 for a free estimate in Clearwater.
Written by the team at Clearwater Garage Door Repair Co.