Last updated November 21, 2026
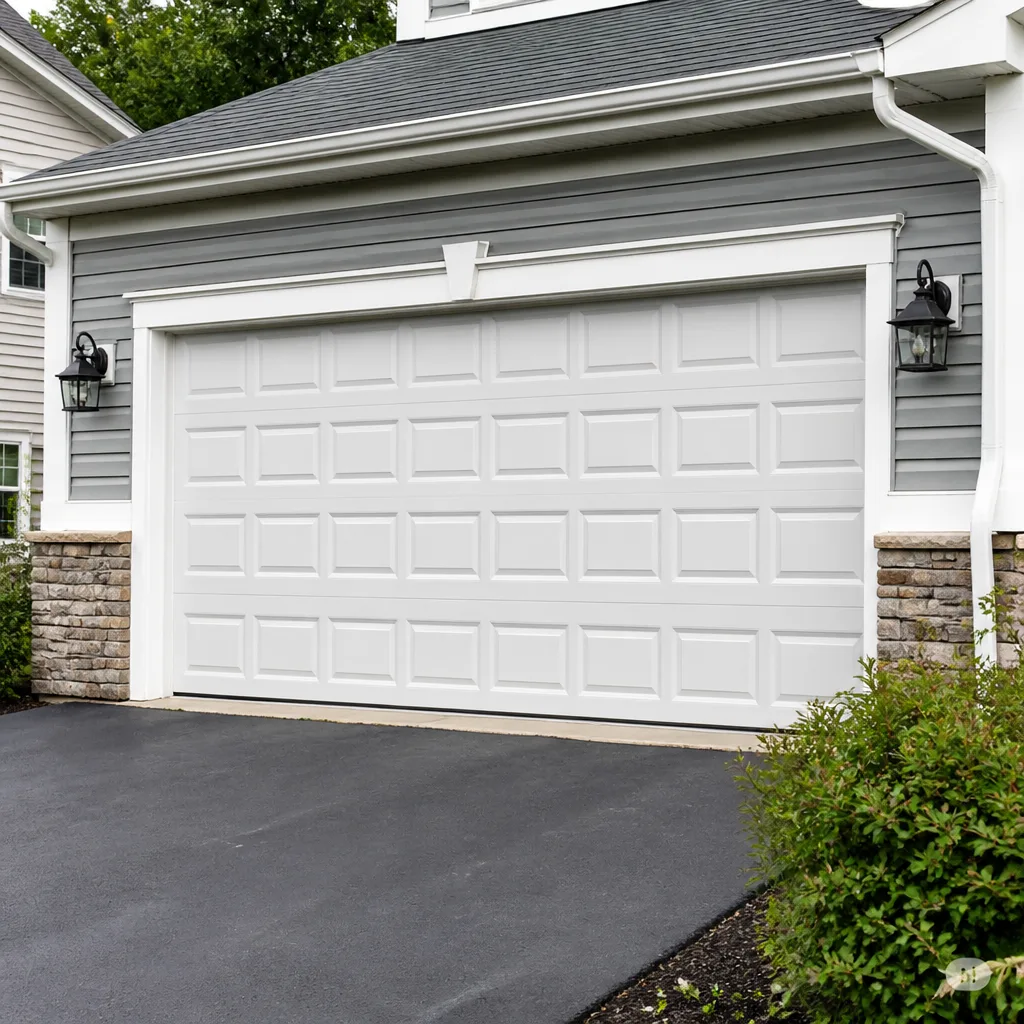 Raised-panel steel
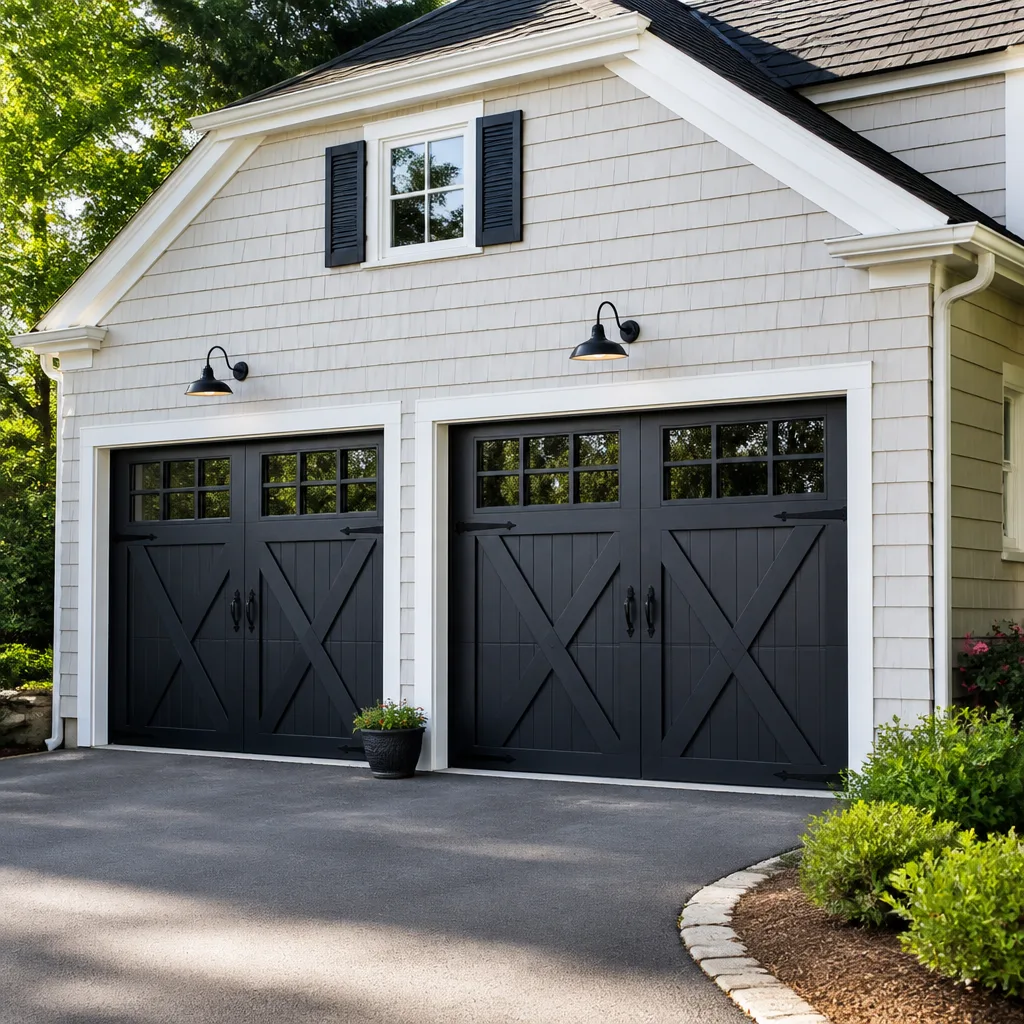 Carriage house
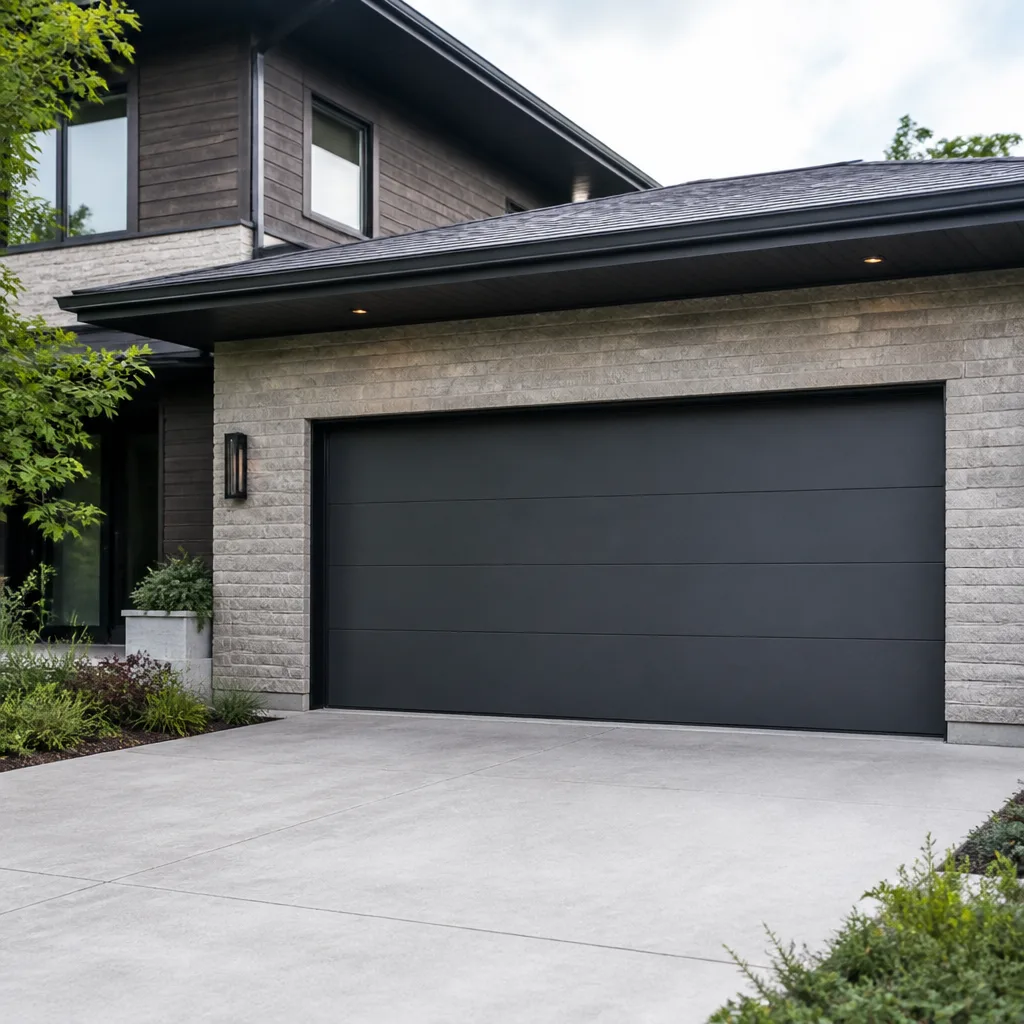 Modern flush
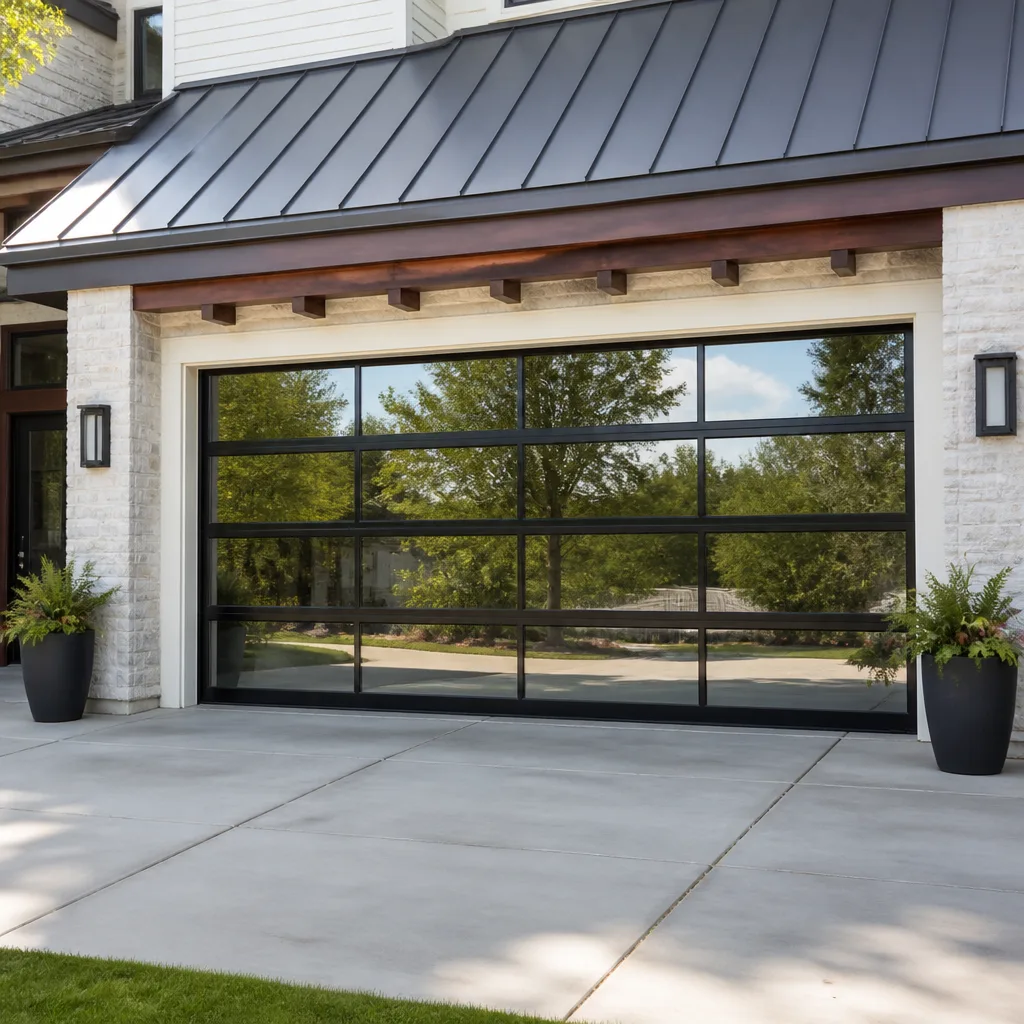 Full-view glass
 LiftMaster openers
 Chamberlain openers
Full 25-point door and opener safety check with every visit - springs, cables, rollers, tracks, and your LiftMaster or Chamberlain opener included
You get a price before we start. It does not change when the pro arrives.
Get your free estimateGarage Door Repair Troubleshooting in Clearwater: Common Problems and How to Fix Them
A noisy garage door and a slow garage door can have the exact same root cause, but they need completely different fixes. That’s the part most homeowners miss when something starts acting up. The instinct is to treat what you hear or see, not what’s actually failing behind it. Guessing wrong doesn’t just waste money on a repair you didn’t need. It can put extra strain on the parts that were still fine, and that’s how a small problem turns into a big one. This guide maps the most common garage door failures in Clearwater back to their real mechanical causes, so you can fix the actual problem once instead of three times.
Quick Answer
Most garage door problems in Clearwater trace back to one of five causes: worn springs, misaligned or dirty safety sensors, track and roller wear, opener logic faults, or loose hardware shaken loose by heat and humidity. You can safely check sensors, lubrication, and the manual release yourself, but spring and cable work should always go to a trained technician. A correct diagnosis the first time is what keeps a small repair from turning into a track replacement.
Styles & brands we work with
- Raised-panel steel
- Carriage house
- Modern flush
- Full-view glass
- LiftMaster openers
- Chamberlain openers
Table of Contents
- The Symptom-to-Cause Map: Why the Same Problem Has Four Fixes
- How Clearwater Heat and Humidity Affect Springs, Cables, and Tracks
- The DIY Boundary: What You Can Safely Check Yourself
- How to Read Your Opener’s Error Codes Before You Call
- The Cascade Failure Pattern: How Small Problems Become Big Ones
- Noisy, Slow, or Sticking: Matching the Sound to the Part
- Opener Problems: When It’s the Motor and When It’s Not
- What Garage Door Repair Costs in Clearwater
The Symptom-to-Cause Map: Why the Same Problem Has Four Fixes
“My door won’t close” is the single most common call we get, and it’s also the most misleading. The same symptom has at least four distinct mechanical explanations, and each one leads down a completely different repair path. Treating the symptom without pinpointing the cause is where most wasted money happens in this trade.
Here’s how we sort it out. The first question isn’t what the door is doing. It’s where in the cycle it stops, and what it sounds like when it does.
- It reverses immediately after touching the floor or an object. This is almost always a safety sensor or force-setting issue, not a mechanical failure. The opener thinks it hit something.
- It stops partway down and stays there. Usually a binding track, a worn roller, or a travel-limit setting that has drifted. The door is physically resisting the motor.
- It closes a few inches then goes back up, repeatedly. Often a sensor that’s misaligned or has a dirty lens, or a logic board reading a false obstruction.
- It won’t move at all, or hums without moving. Could be a stripped gear in the opener, a broken spring that’s removed the door’s counterbalance, or a disconnected trolley. These are mechanical, and the fix is very different from an electrical one.
That’s the whole point of a system-level diagnosis. A door that won’t close because of a dirty sensor and a door that won’t close because of a snapped spring look similar from the driver’s seat. They aren’t. For the opener-side problems in that list, we can usually narrow it down quickly with a garage door opener repair visit; the mechanical ones fall under standard garage door repair. Getting the category right first is what saves the second and third trip.
How Clearwater Heat and Humidity Affect Springs, Cables, and Tracks
Clearwater’s climate doesn’t cause garage door problems on its own, but it changes how fast they develop and which parts fail first. Three environmental factors matter most here: sustained heat, high humidity, and the daily expansion and contraction that comes with a door facing a hot garage all afternoon.
Heat and spring life
Steel torsion and extension springs lose tension gradually as they cycle, and root cause is always metal fatigue. Heat doesn’t create the fatigue, but a garage that soaks up afternoon sun runs hotter, and heat accelerates the wear on the metal. In practical terms, a spring under constant thermal stress tends to reach the end of its service life a little sooner here than in a cooler climate. That’s one reason spring inspection is worth doing before a failure, not after.
Humidity and the hardware that moves
Clearwater’s humidity is a real factor in how rollers, hinges, and bearings behave. Moisture in the air works its way into moving joints, and when lubricant breaks down, those joints start to drag. A roller that’s sticking slightly puts extra load on the track and the opener. The door gets louder, then slower, then the opener works harder than it should. Regular lubrication is the cheapest maintenance a homeowner can do, and it matters more here than in a dry climate.
Expansion and track alignment
Metal tracks expand and contract with temperature swings. Over time, a track that was perfectly straight can develop a slight bow or shift at a bracket, especially if the mounting hardware loosens. That’s a common cause of doors that bind in one spot but run fine the rest of the way. It’s also one of the reasons we check the whole track system, not just the obvious problem area, when a door starts acting up in Clearwater.
The DIY Boundary: What You Can Safely Check Yourself
There’s a clear line between what a homeowner can safely check and what belongs in a technician’s hands. Knowing that line protects you from injury and protects the door from damage caused by a well-meant adjustment. Here’s how we draw it.
Safe to check yourself
- Safety sensor alignment. The two small sensors near the floor should point at each other. If the indicator light on either one is off or flickering, clean the lens and check that nothing is blocking the beam. This is the most common cause of a door that won’t close, and it’s a two-minute check.
- Lubrication. A light application of garage-door lubricant on rollers, hinges, and the torsion bar bearings (not the track itself) reduces drag and noise. Avoid grease, which attracts grit.
- Manual release. Every opener has a release cord or handle. Knowing how to use it, and testing that it works smoothly while the door is closed, is basic safety knowledge every homeowner should have.
- Visual inspection. Look at the springs, cables, and track. If a spring looks visibly broken (a clear gap in the coil) or a cable is frayed or hanging loose, stop and call a technician. Don’t try to operate the door.
Not safe to attempt yourself
Torsion and extension springs are under enormous tension, and the cables that run alongside them are just as dangerous. Adjusting spring tension, replacing a spring, or working on a cable without the right tools and training can cause serious injury. This is the one area where DIY goes wrong most often and most expensively. If you suspect a spring or cable problem, leave the door closed and call. For full detection and repair on the mechanical system, our garage door repair service starts with a safe assessment before anything is touched.
How to Read Your Opener’s Error Codes Before You Call
Modern openers are surprisingly talkative. Most of them have a diagnostic light or display that blinks a specific pattern when something’s wrong, and reading that pattern before you call can save time and steer the conversation toward the right part. The patterns vary by brand, but a few are common enough that they’re worth knowing.
On a Chamberlain or LiftMaster unit, for example, a specific number of LED flashes often corresponds to a sensor issue, a travel-limit problem, or a motor fault. The exact meaning lives in the manual, but the general categories repeat across brands. On Genie openers, a small diagnostic LED on the power head does something similar. On a Craftsman or Raynor unit, the pattern is often a simple flashing code. The key is to count the flashes and note the sequence before you reset anything.
- Find the diagnostic light or display. It’s usually on the back or side of the opener head, near the learn button.
- Trigger the fault. Press the wall button or remote and watch the light as the door misbehaves.
- Count the flashes. Note whether it’s a repeating pattern (like 3 flashes, pause, 3 flashes) or a single code.
- Check the manual. Look up that code in your model’s manual. If you don’t have it, the model number on the opener head is usually enough to find it online.
- Note what you changed recently. A new remote, a power outage, or a new light bulb in the opener can all throw a code. That context helps a technician diagnose faster.
We work on Chamberlain, Genie, Clopay, and Amarr systems regularly, along with other major brands, so a code that looks cryptic to you usually tells us a lot. If you’d rather skip the detective work, a garage door opener repair visit starts with a read of the unit’s own diagnostics.
The Cascade Failure Pattern: How Small Problems Become Big Ones
One of the most expensive patterns we see isn’t a single big failure. It’s a small one that gets ignored until it takes something else down with it. A worn roller is the classic example. It’s a low-cost part, and when it starts to stick or flatten, the door still runs. Many homeowners don’t notice until the noise gets loud or the door starts to drag.
Here’s what happens in the meantime. A sticking roller increases friction on the track. That friction puts uneven pressure on the track and the bracket holding it. Over a few months, the track can bow slightly at that point, and now the door binds. What started as a roller replacement turns into a roller-and-track job. Same story with a loose hinge or a slightly out-of-balance door. The opener compensates for a while, then the extra load wears the opener’s gear or the drive assembly. A repair that should have been a routine maintenance item becomes a diagnostic visit and a larger bill.
The pattern is so consistent that it’s worth stating plainly: in Clearwater, the doors we see with bent tracks usually had a worn roller or a loose bracket first. Catching the small problem early is the whole game. A short maintenance check once a year, plus a quick look at the rollers and track after any unusual noise, prevents most of these cascades. When a door does start to drag or bind, that’s the moment to look at the full system, not just the part that’s making noise.
Noisy, Slow, or Sticking: Matching the Sound to the Part
Garage door noises are a kind of language. Each one tends to point at a specific part, and learning to hear the difference helps you describe the problem accurately, which speeds up the repair. We’ve listened to a lot of doors in Clearwater, and most fall into a handful of categories.
- A grinding or scraping sound usually means metal-on-metal contact. Worn rollers, a dry torsion bar, or a track that’s out of alignment are the usual suspects. If it’s constant through the whole cycle, start with lubrication and a roller check.
- A popping or snapping sound can indicate a spring that’s about to fail or a cable that’s slipping. Stop operating the door and get it looked at.
- A rattling or banging sound often points to loose hinges, brackets, or bolts. Vibration from the opener works hardware loose over time, and humidity in the air doesn’t help the joints stay tight.
- A high-pitched squeal is usually a dry bearing or roller. Lubrication often quiets it, but if it returns quickly, the bearing may be worn.
- A door that’s slow but quiet is often a sign of increased friction somewhere in the system, or an opener that’s working harder than it should. It’s easy to ignore because nothing sounds wrong, which is exactly why it’s worth checking.
Matching the sound to the part is the fastest way to avoid the “replace everything” approach. It’s also how a technician knows which parts to bring and which checks to run first. If a noise comes and goes, note when it happens (opening, closing, or both) and whether it’s worse in the heat of the afternoon. That detail alone can point to a heat-related expansion issue.
Opener Problems: When It’s the Motor and When It’s Not
A surprising share of “my opener is broken” calls turn out not to be the opener at all. The opener is the part that makes noise and has a light, so it gets the blame. But the opener only drives the door; it doesn’t carry the door’s weight. When something else in the system is out of balance or binding, the opener struggles, and it looks like the opener’s fault.
Here’s how we separate the two. If the door moves freely by hand with the manual release pulled, the mechanical system is probably fine and the problem is in the opener or its settings. If the door is heavy or binds when moved by hand, the problem is mechanical: springs, rollers, track, or cables. That single test tells you which path to take.
- Test the door by hand. Pull the manual release and lift the door halfway. It should hold its position with modest effort. If it drops or is very heavy, the springs are the likely issue.
- Check the power and the wall control. A tripped breaker or a loose wire at the wall button can mimic a dead opener.
- Look at the safety sensors. If the indicator light is off, the opener won’t close the door by design. Fix the sensor before assuming the motor is bad.
- Test the remote and wall button separately. If the wall button works but the remote doesn’t, the problem is the remote or the receiver, not the motor.
- Read the error code. The opener’s own diagnostics will usually point to the category of fault.
For anything that lands on the opener itself, a garage door opener repair visit covers the drive gear, logic board, travel limits, and safety reverse settings. If the opener is older and the door is otherwise sound, a garage door installation quote for a modern unit may make more sense than repeated repairs. We’re brand-neutral about that call: the door gets what it needs, not what’s easiest to sell.
What Garage Door Repair Costs in Clearwater
Garage door repair in Clearwater typically runs from about $120 for a minor adjustment to $600 or more for a spring replacement paired with related hardware, depending on the parts involved. The number that matters is the written estimate, agreed before any work starts. We give you that up front, and the quote is the price.
- Safety sensor alignment or replacement: typically $100 to $200
- Roller and hinge replacement (full set): typically $150 to $300
- Track straightening or bracket repair: typically $150 to $350
- Torsion spring replacement (one spring): typically $180 to $340. A matched pair is usually replaced together, so a pair runs about twice that.
- Cable replacement: typically $150 to $300 per side
- Opener repair (gear, board, or travel limits): typically $150 to $400
- Opener replacement (unit and labor): typically $350 to $800, depending on the model
These are typical ranges for the Clearwater market, not a fixed price list. The final number depends on your door’s size, the brand of opener, and whether related parts need attention. Because Clearwater’s heat and humidity speed up wear on springs, rollers, and hardware, a door that’s been running in a hot garage for years may need more than the obvious part. That’s why we diagnose the whole system before quoting, and why we put the price in writing before we start. Estimates are free, so call (833) 468-3520 for an exact quote on your door.
Common Mistakes to Avoid
- Pulling the manual release while the door is open. Releasing a door that’s up can send it crashing down if the springs are weak. Only release it when the door is fully closed, and have someone steady it.
- Greasing the track. Track rails should stay clean and dry. Lubricant on the track attracts grit and makes rollers slide instead of roll, which accelerates wear.
- Adjusting spring tension without the right tools. Torsion springs are under high tension. A slipped winding bar can cause serious injury. Leave this to a technician.
- Ignoring a small noise. In Clearwater’s heat, a worn roller or loose bracket can turn into a bent track or a strained opener within months. Fix the small thing before it spreads.
- Replacing the opener when the door is the problem. If the door is heavy by hand, a new opener will just struggle too. Diagnose the mechanical system first.
- Resetting the opener repeatedly instead of reading the code. A reset clears the symptom, not the cause. Count the flashes and look them up.
- Letting a door run out of balance. A door that’s hard to lift by hand puts extra load on the opener every single cycle. It’s one of the most common hidden causes of opener failure.
See the difference
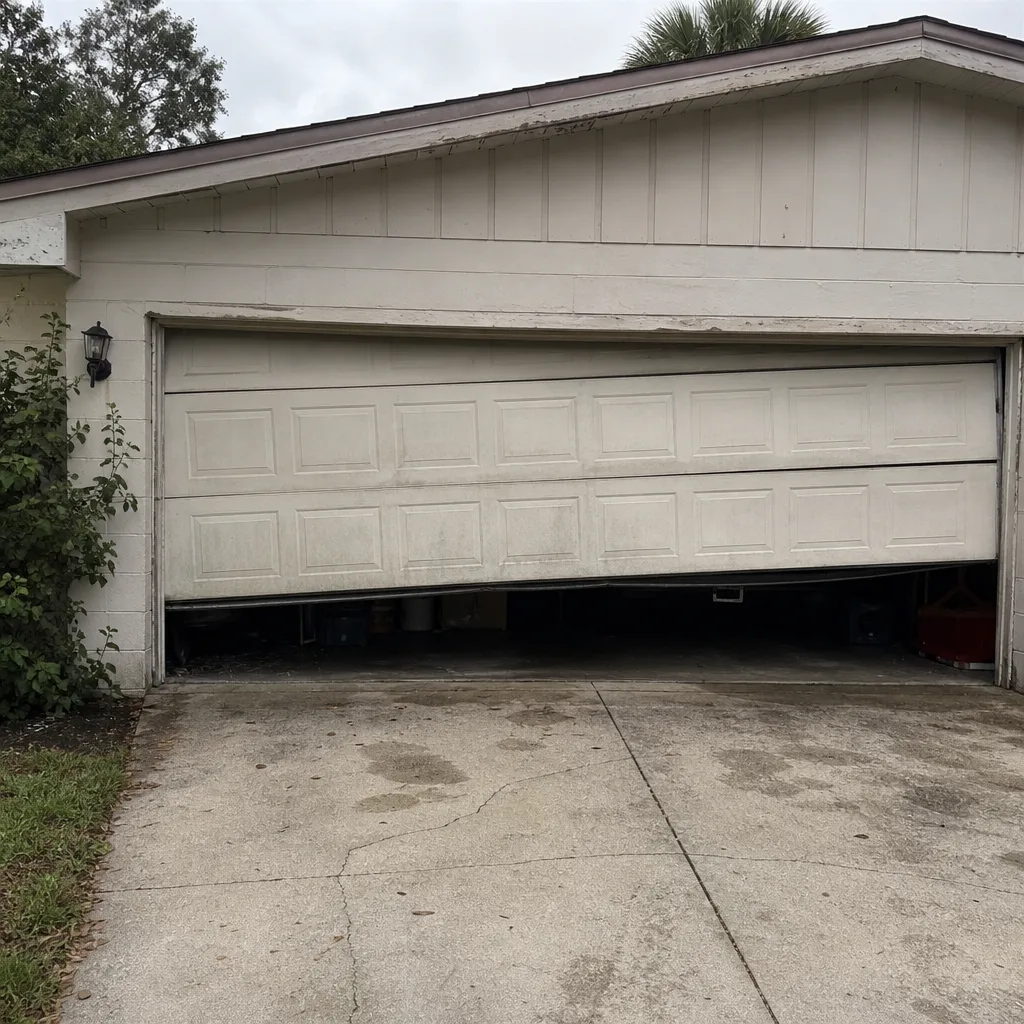 Before
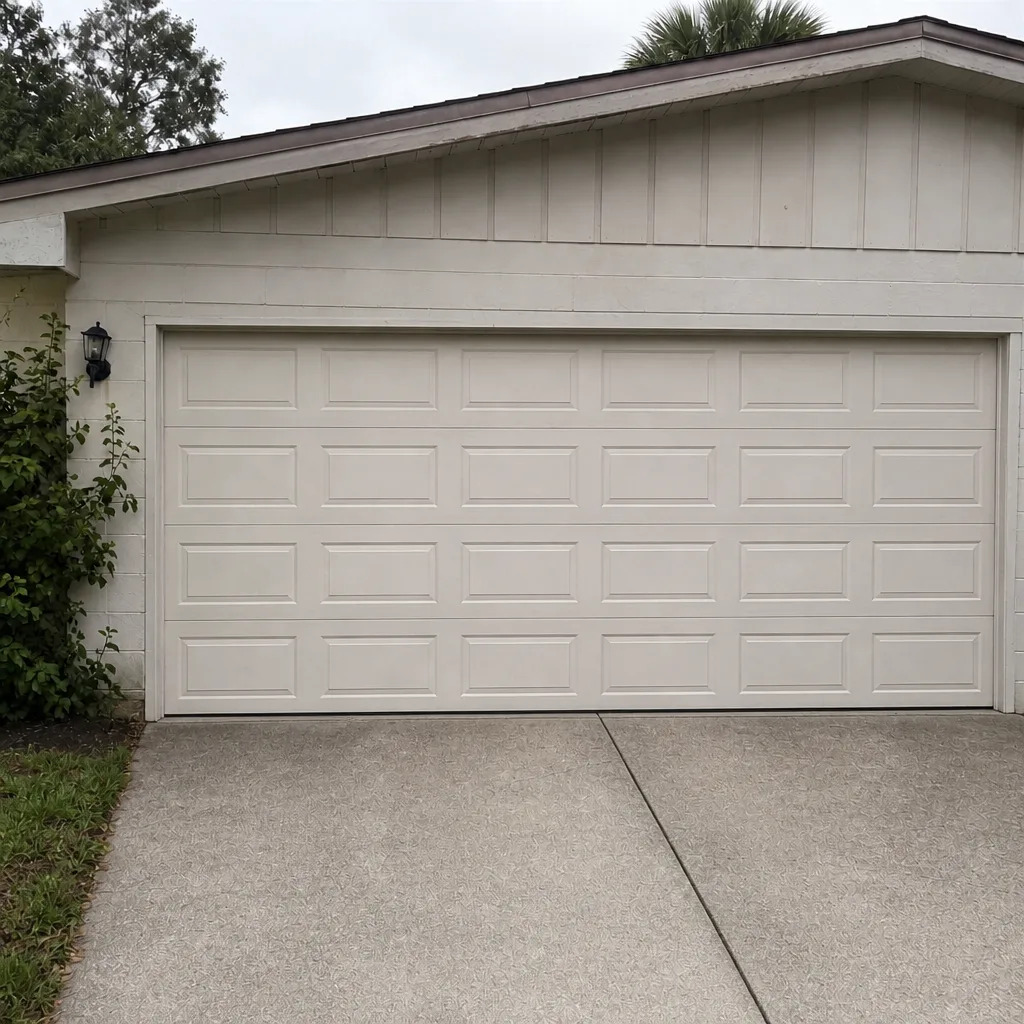 After
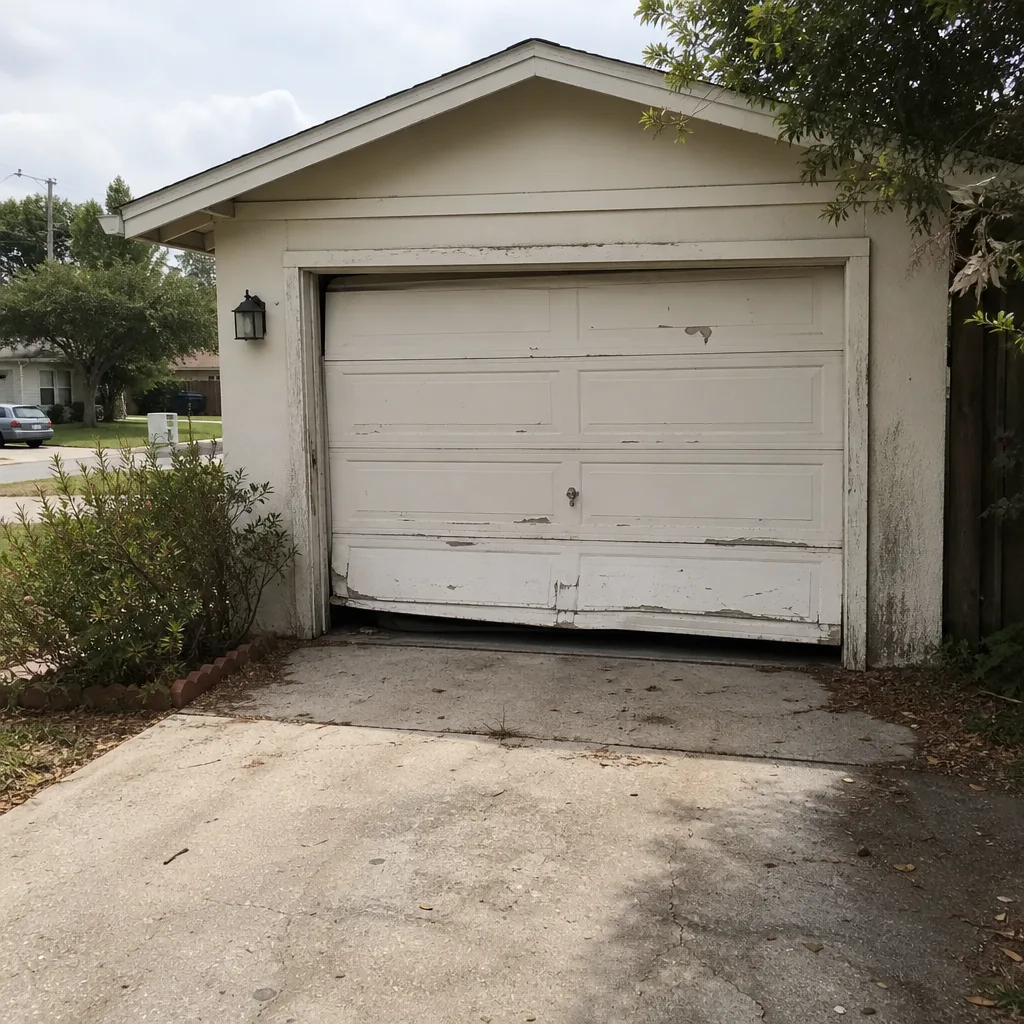 Before
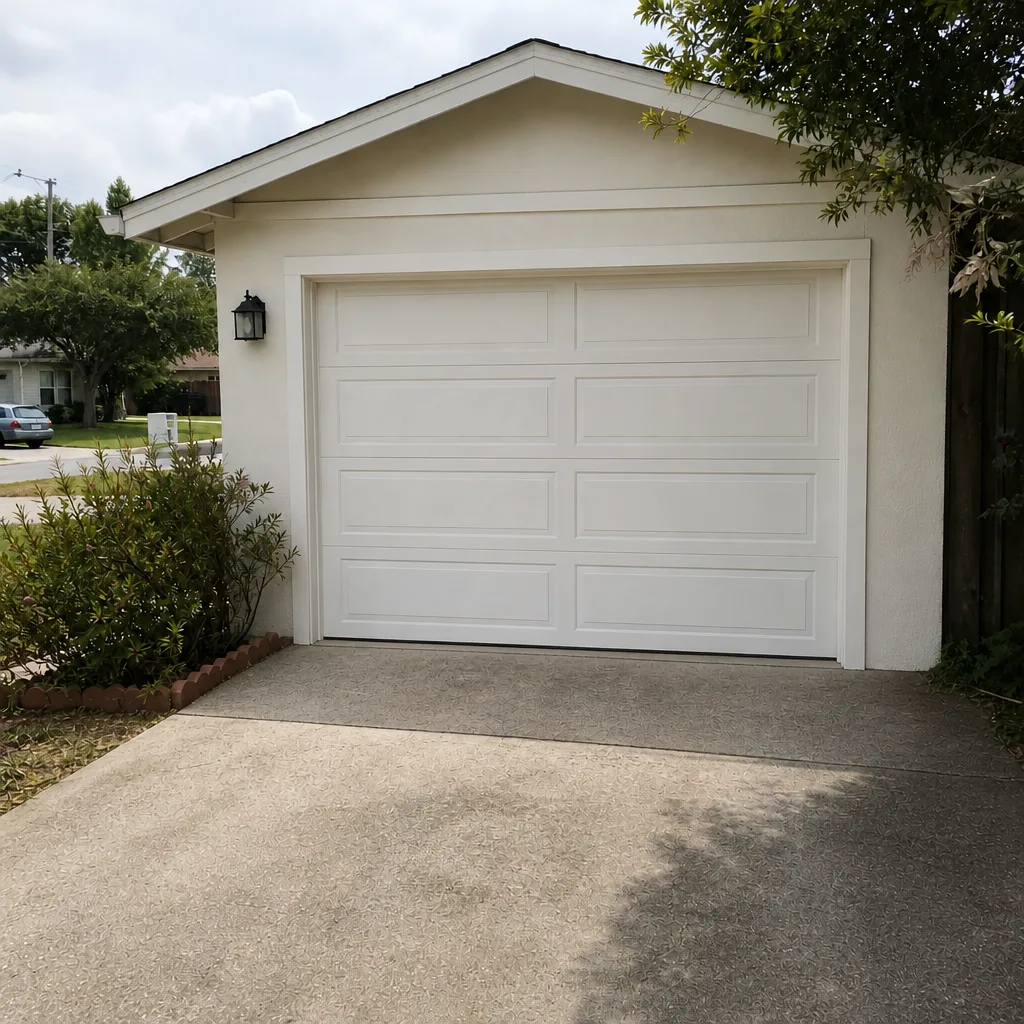 After
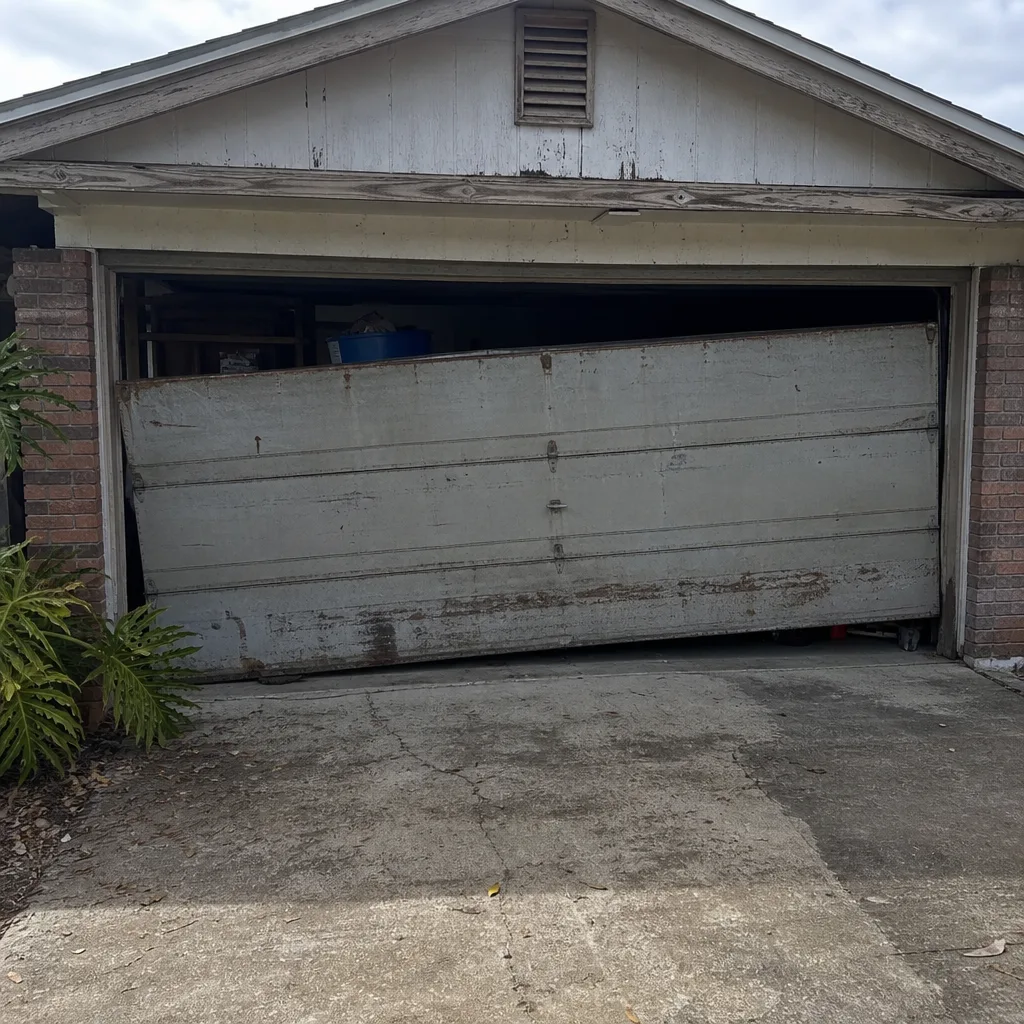 Before
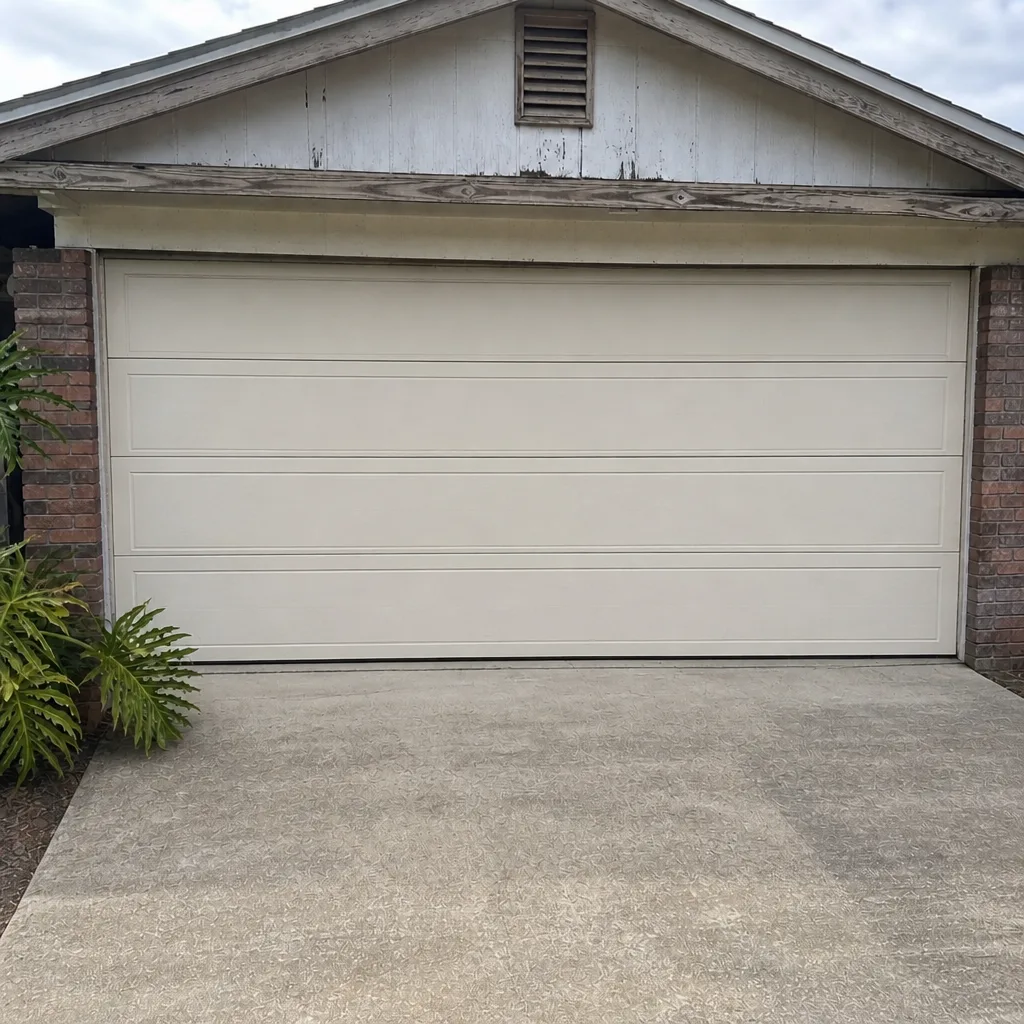 After
When to Call a Professional
Call a professional if you see a broken or stretched spring, a frayed or loose cable, a door that’s hard to lift by hand, or a track that’s visibly bent. Also call if the door reverses unexpectedly, if the opener hums without moving, or if a noise has gotten louder over a few weeks. These are the situations where a trained diagnosis prevents injury and saves money. Clearwater Garage Door Repair Co offers free estimates in Clearwater, and our technicians have up to 12 years of experience across the major door and opener brands. Call (833) 468-3520 and we’ll get your door diagnosed on its own terms, whichever brand it is. If a full replacement turns out to be the smarter path, we handle that too, so you won’t need a second company.
Frequently Asked Questions
The most common cause is a misaligned or dirty safety sensor near the floor. Clean the lenses and check that both indicator lights are on. If the sensors look fine, the cause could be a binding track, a worn roller, or a travel-limit setting that’s drifted. A quick sensor check is free; call (833) 468-3520 if it doesn’t solve it.
Torsion spring replacement typically runs $180 to $340 for one spring, and a matched pair is usually replaced together at about twice that. The written estimate sets the final price. Because Clearwater’s heat accelerates spring wear, we check the full counterbalance system before quoting. Call (833) 468-3520 for a free estimate.
In most cases, yes. Emergency garage door service is a core part of what we do, not an add-on, and a broken spring that traps a car is exactly the kind of call we handle. Call (833) 468-3520 and we’ll talk through what’s happening and get you booked.
No. We diagnose the system, give you a written estimate, and don’t start work until you agree to it. If we find a related issue once we’re in, we tell you about it and quote it separately before touching anything. The quote is the price. Call (833) 468-3520 to get started.
Yes. The local professional who comes to your door is licensed and insured as their state requires. Our technicians have up to 12 years of experience and are trained across the major door and opener brands. Call (833) 468-3520 with any questions before you book.
It doesn’t damage parts on its own, but it does speed up wear on moving hardware. Humidity breaks down lubricant in rollers, hinges, and bearings, so joints start to drag and the opener works harder. A light annual lubrication is the easiest way to offset it. If you’re hearing new noises, call (833) 468-3520 for a check.
The Bottom Line
Most garage door problems in Clearwater come down to a handful of causes: springs and cables under tension, sensors out of alignment, rollers and tracks worn by heat and humidity, or an opener working harder than it should. The key is to diagnose the system, not the symptom. Check what’s safe to check yourself, know where the DIY line sits, and read your opener’s codes before you call. When in doubt, a free estimate from Clearwater Garage Door Repair Co gets you an honest diagnosis and a written price before any work begins. Visit Clearwater Garage Door Repair Co to learn more, or call (833) 468-3520 for a free estimate on your door today.
Written by the team at Clearwater Garage Door Repair Co.